Had a Galaga that was reporting false ROM errors and had glitching that made me think that the three CPUs were uncoordinated. For example:
- Game would sometimes play but would have no sound, would play glitchy sounds, or get stuck on sounds
- Game would have odd graphics-related issues during its startup or sometimes during play
- Starfield had incorrect behavior – was moving backwards, was stopped, or moving at the wrong speed
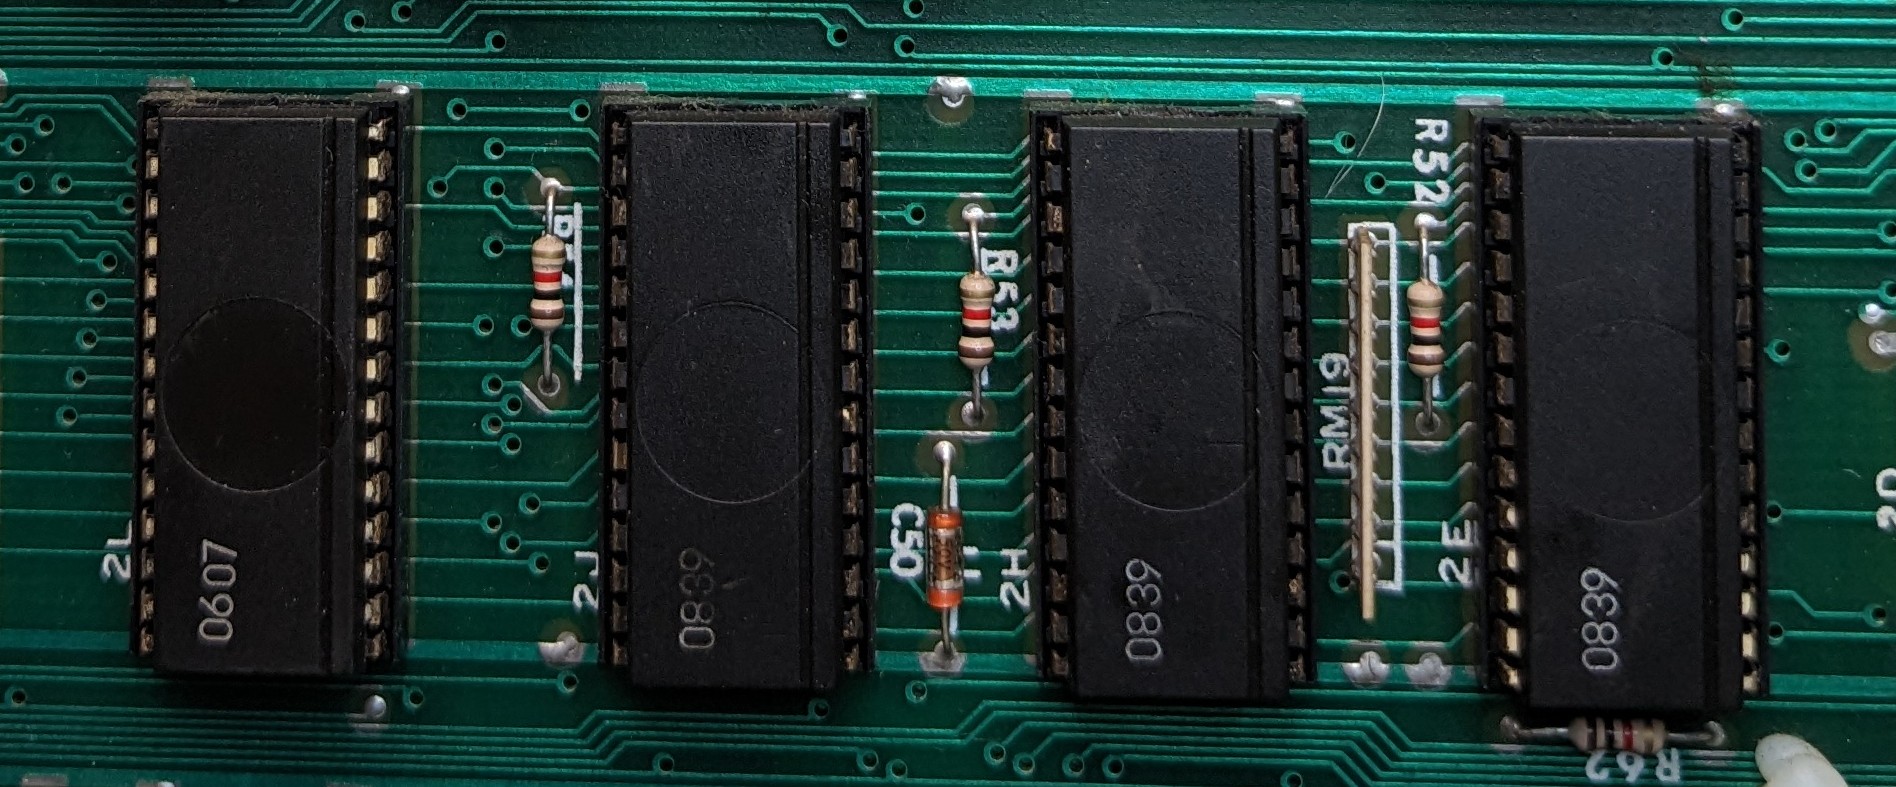
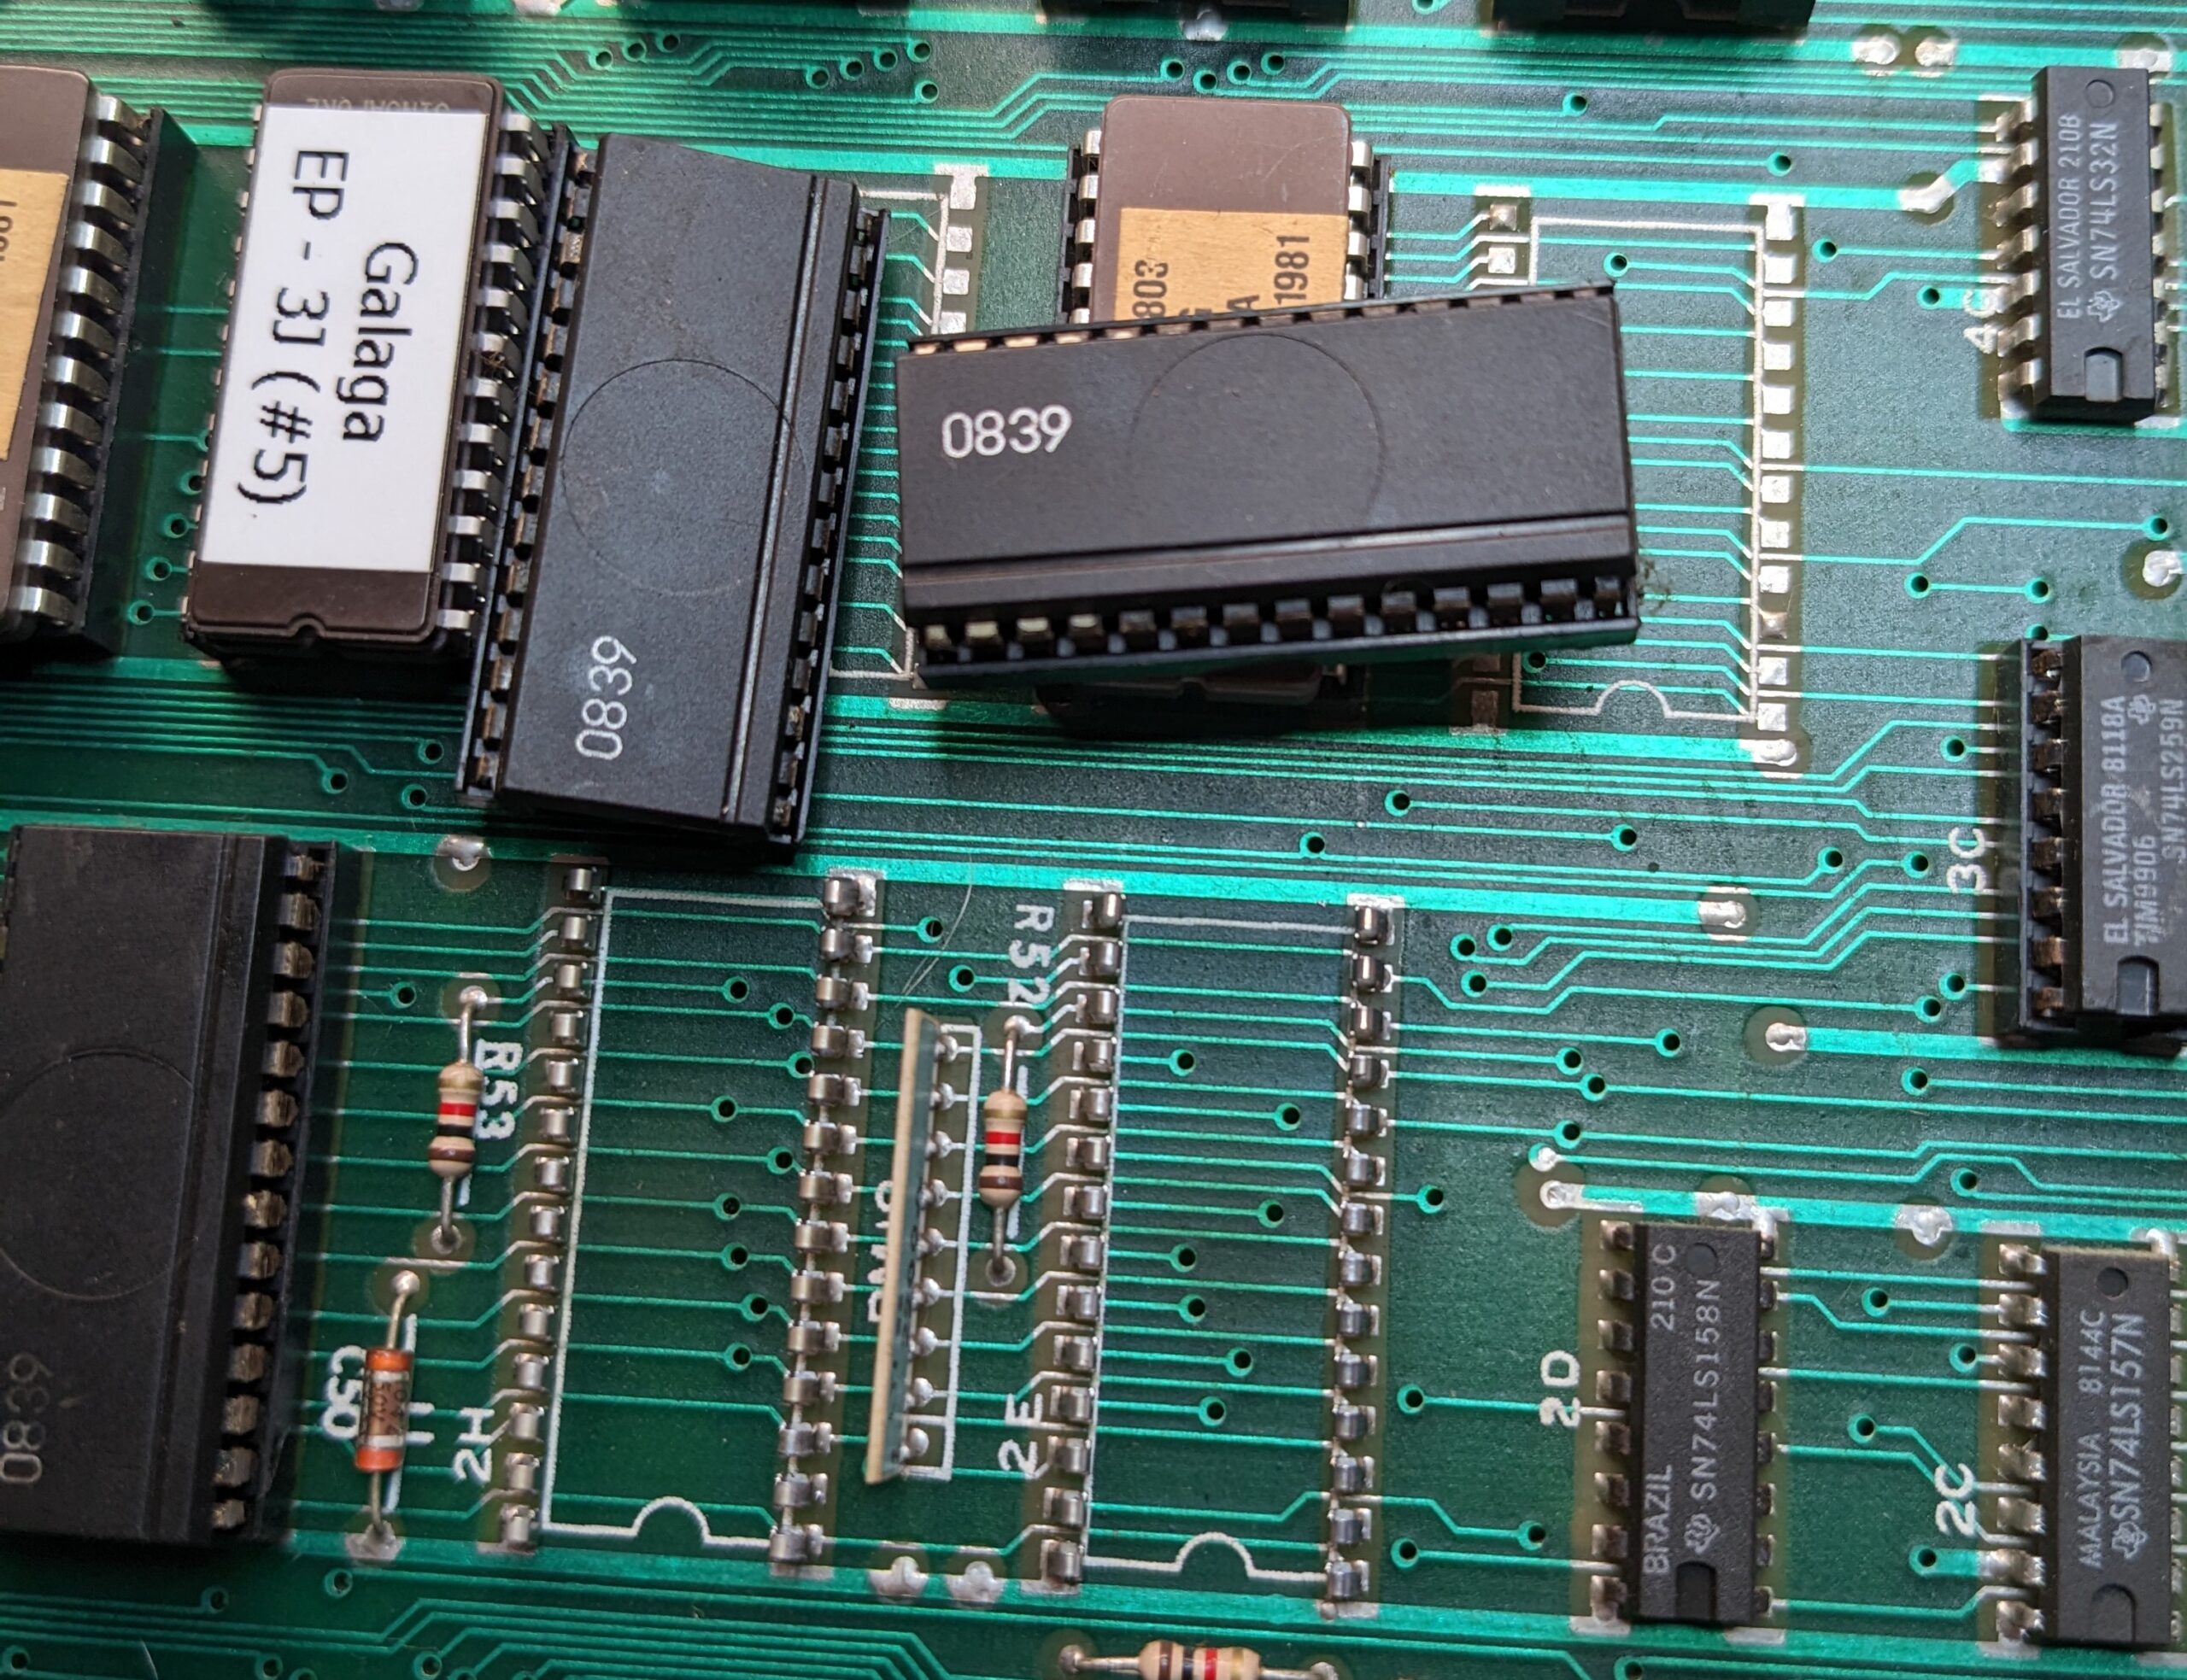
This led me to the three 08xx customs on the main board. They are responsible for the shared interface between the CPUs and would be the first place I would look if the CPUs are not playing nicely with each other. Since the 06xx is right next to them, I decided to get all 4.
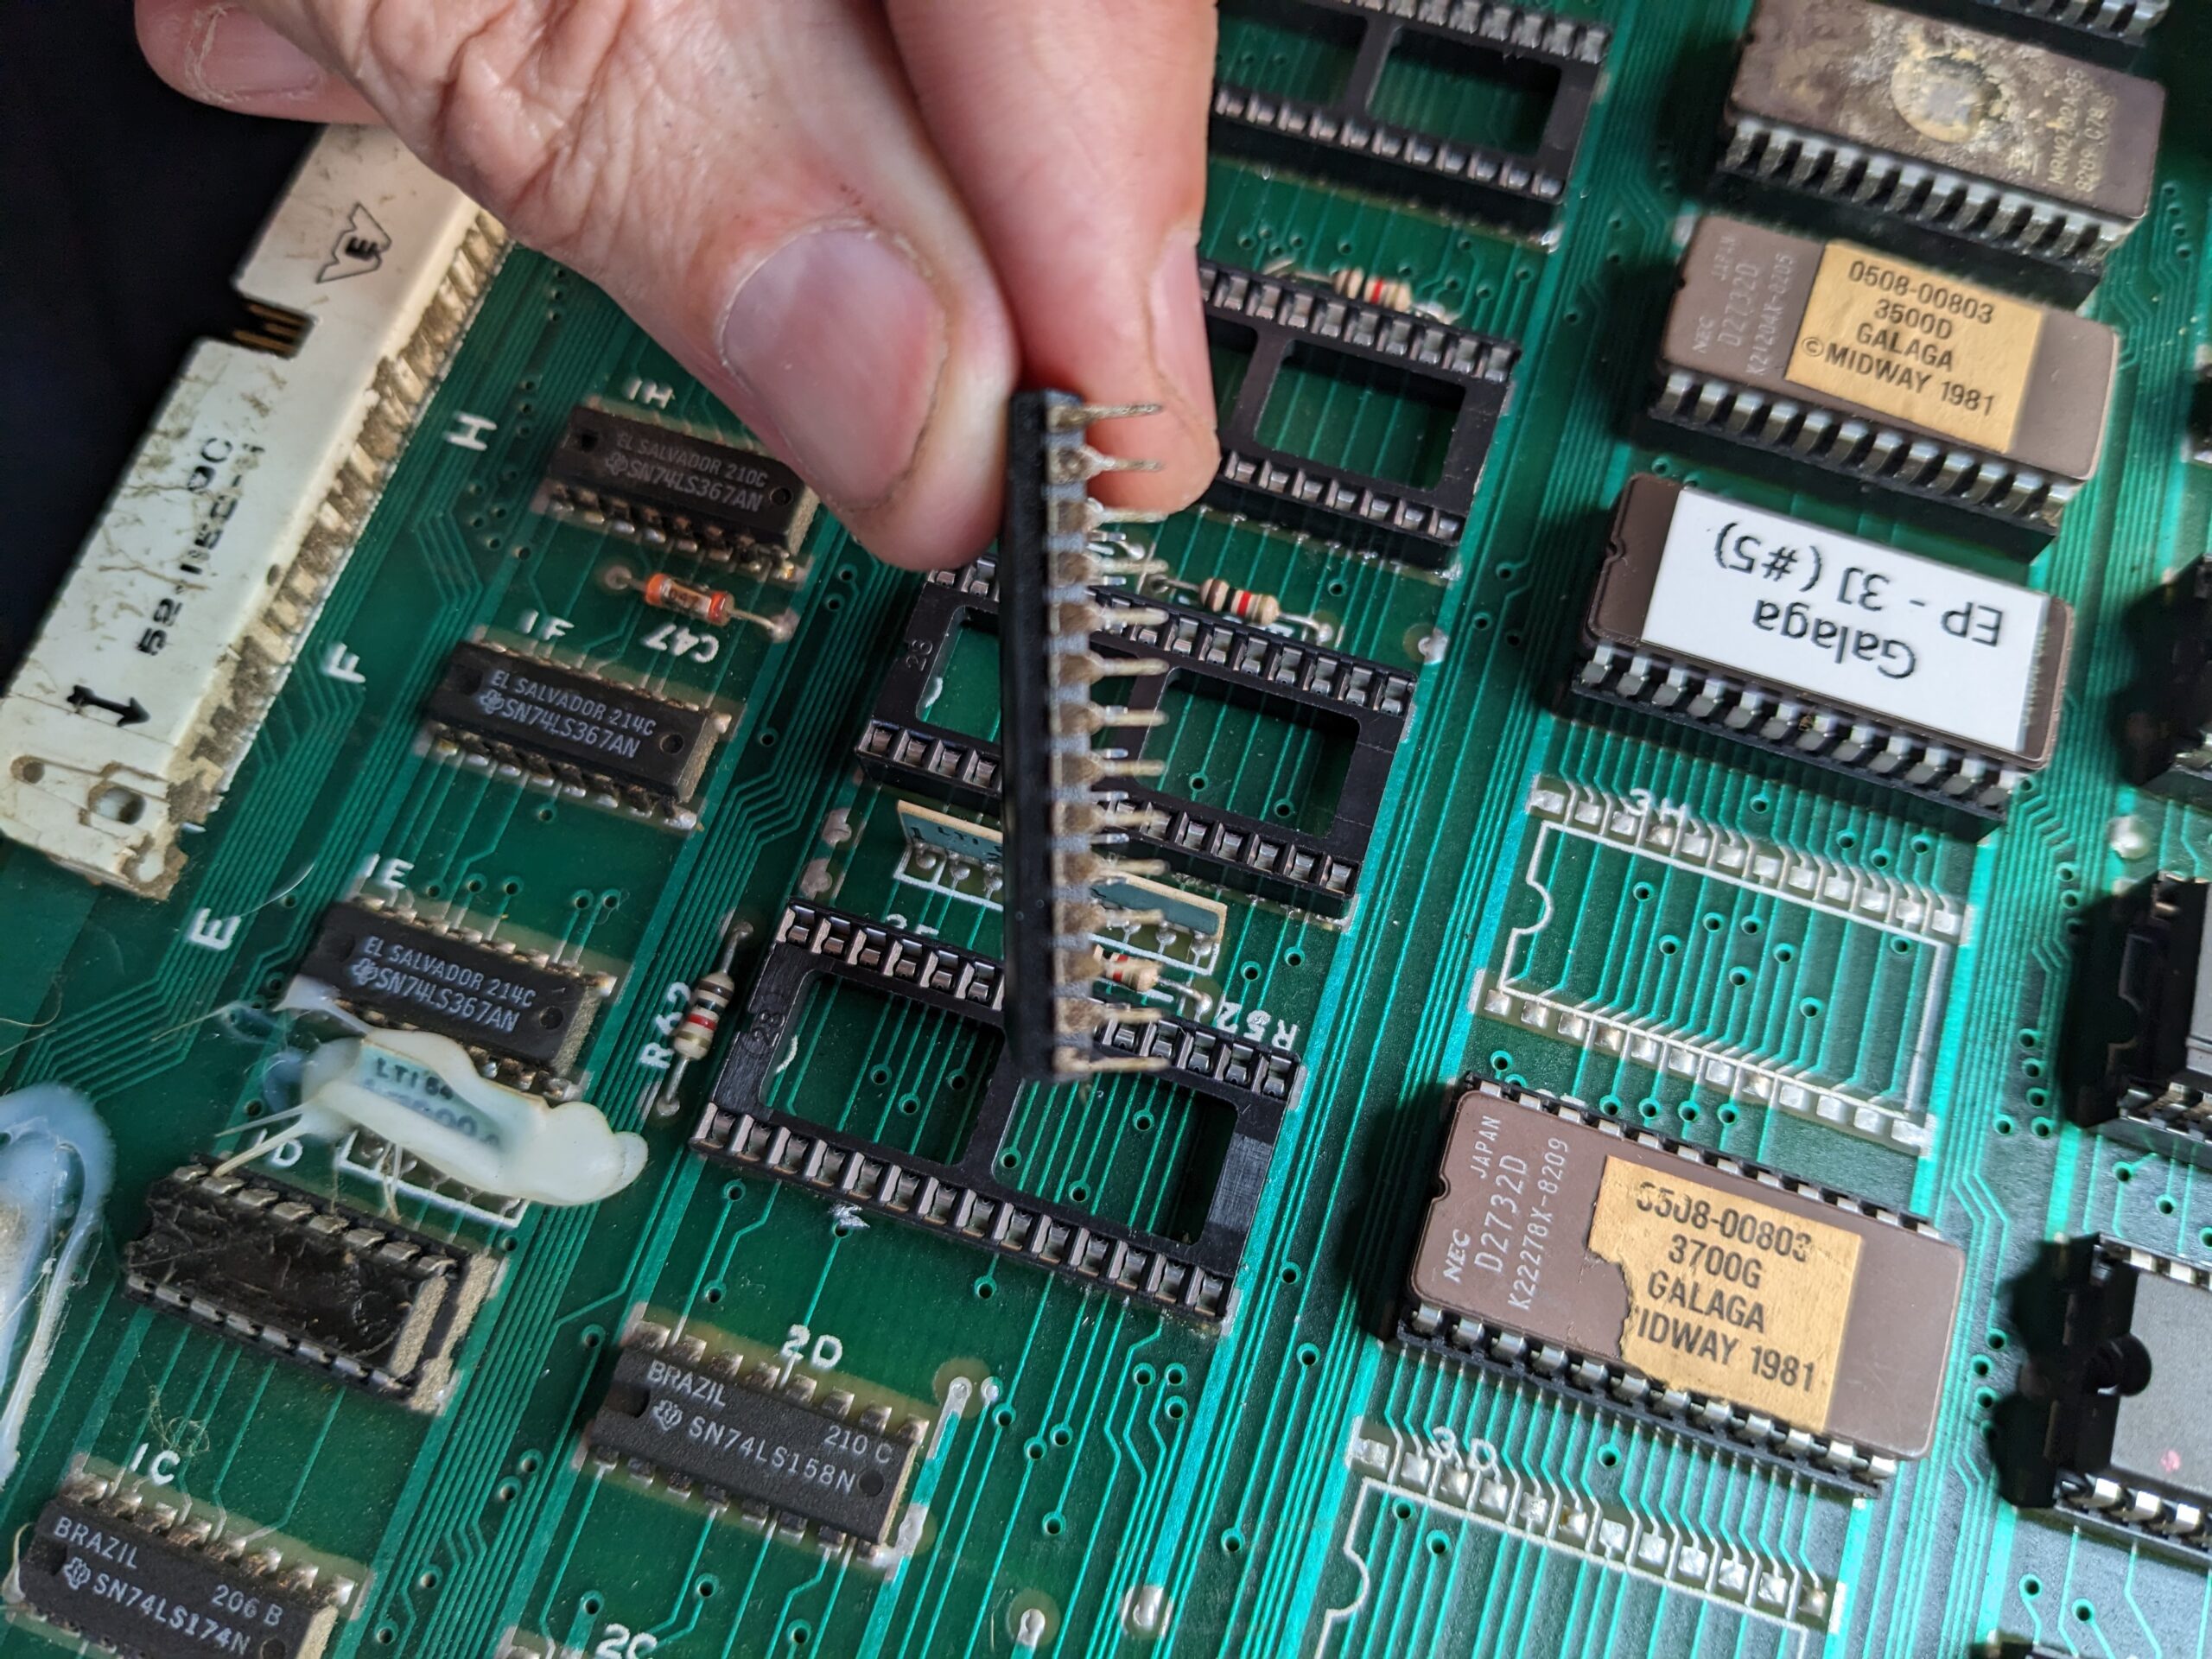
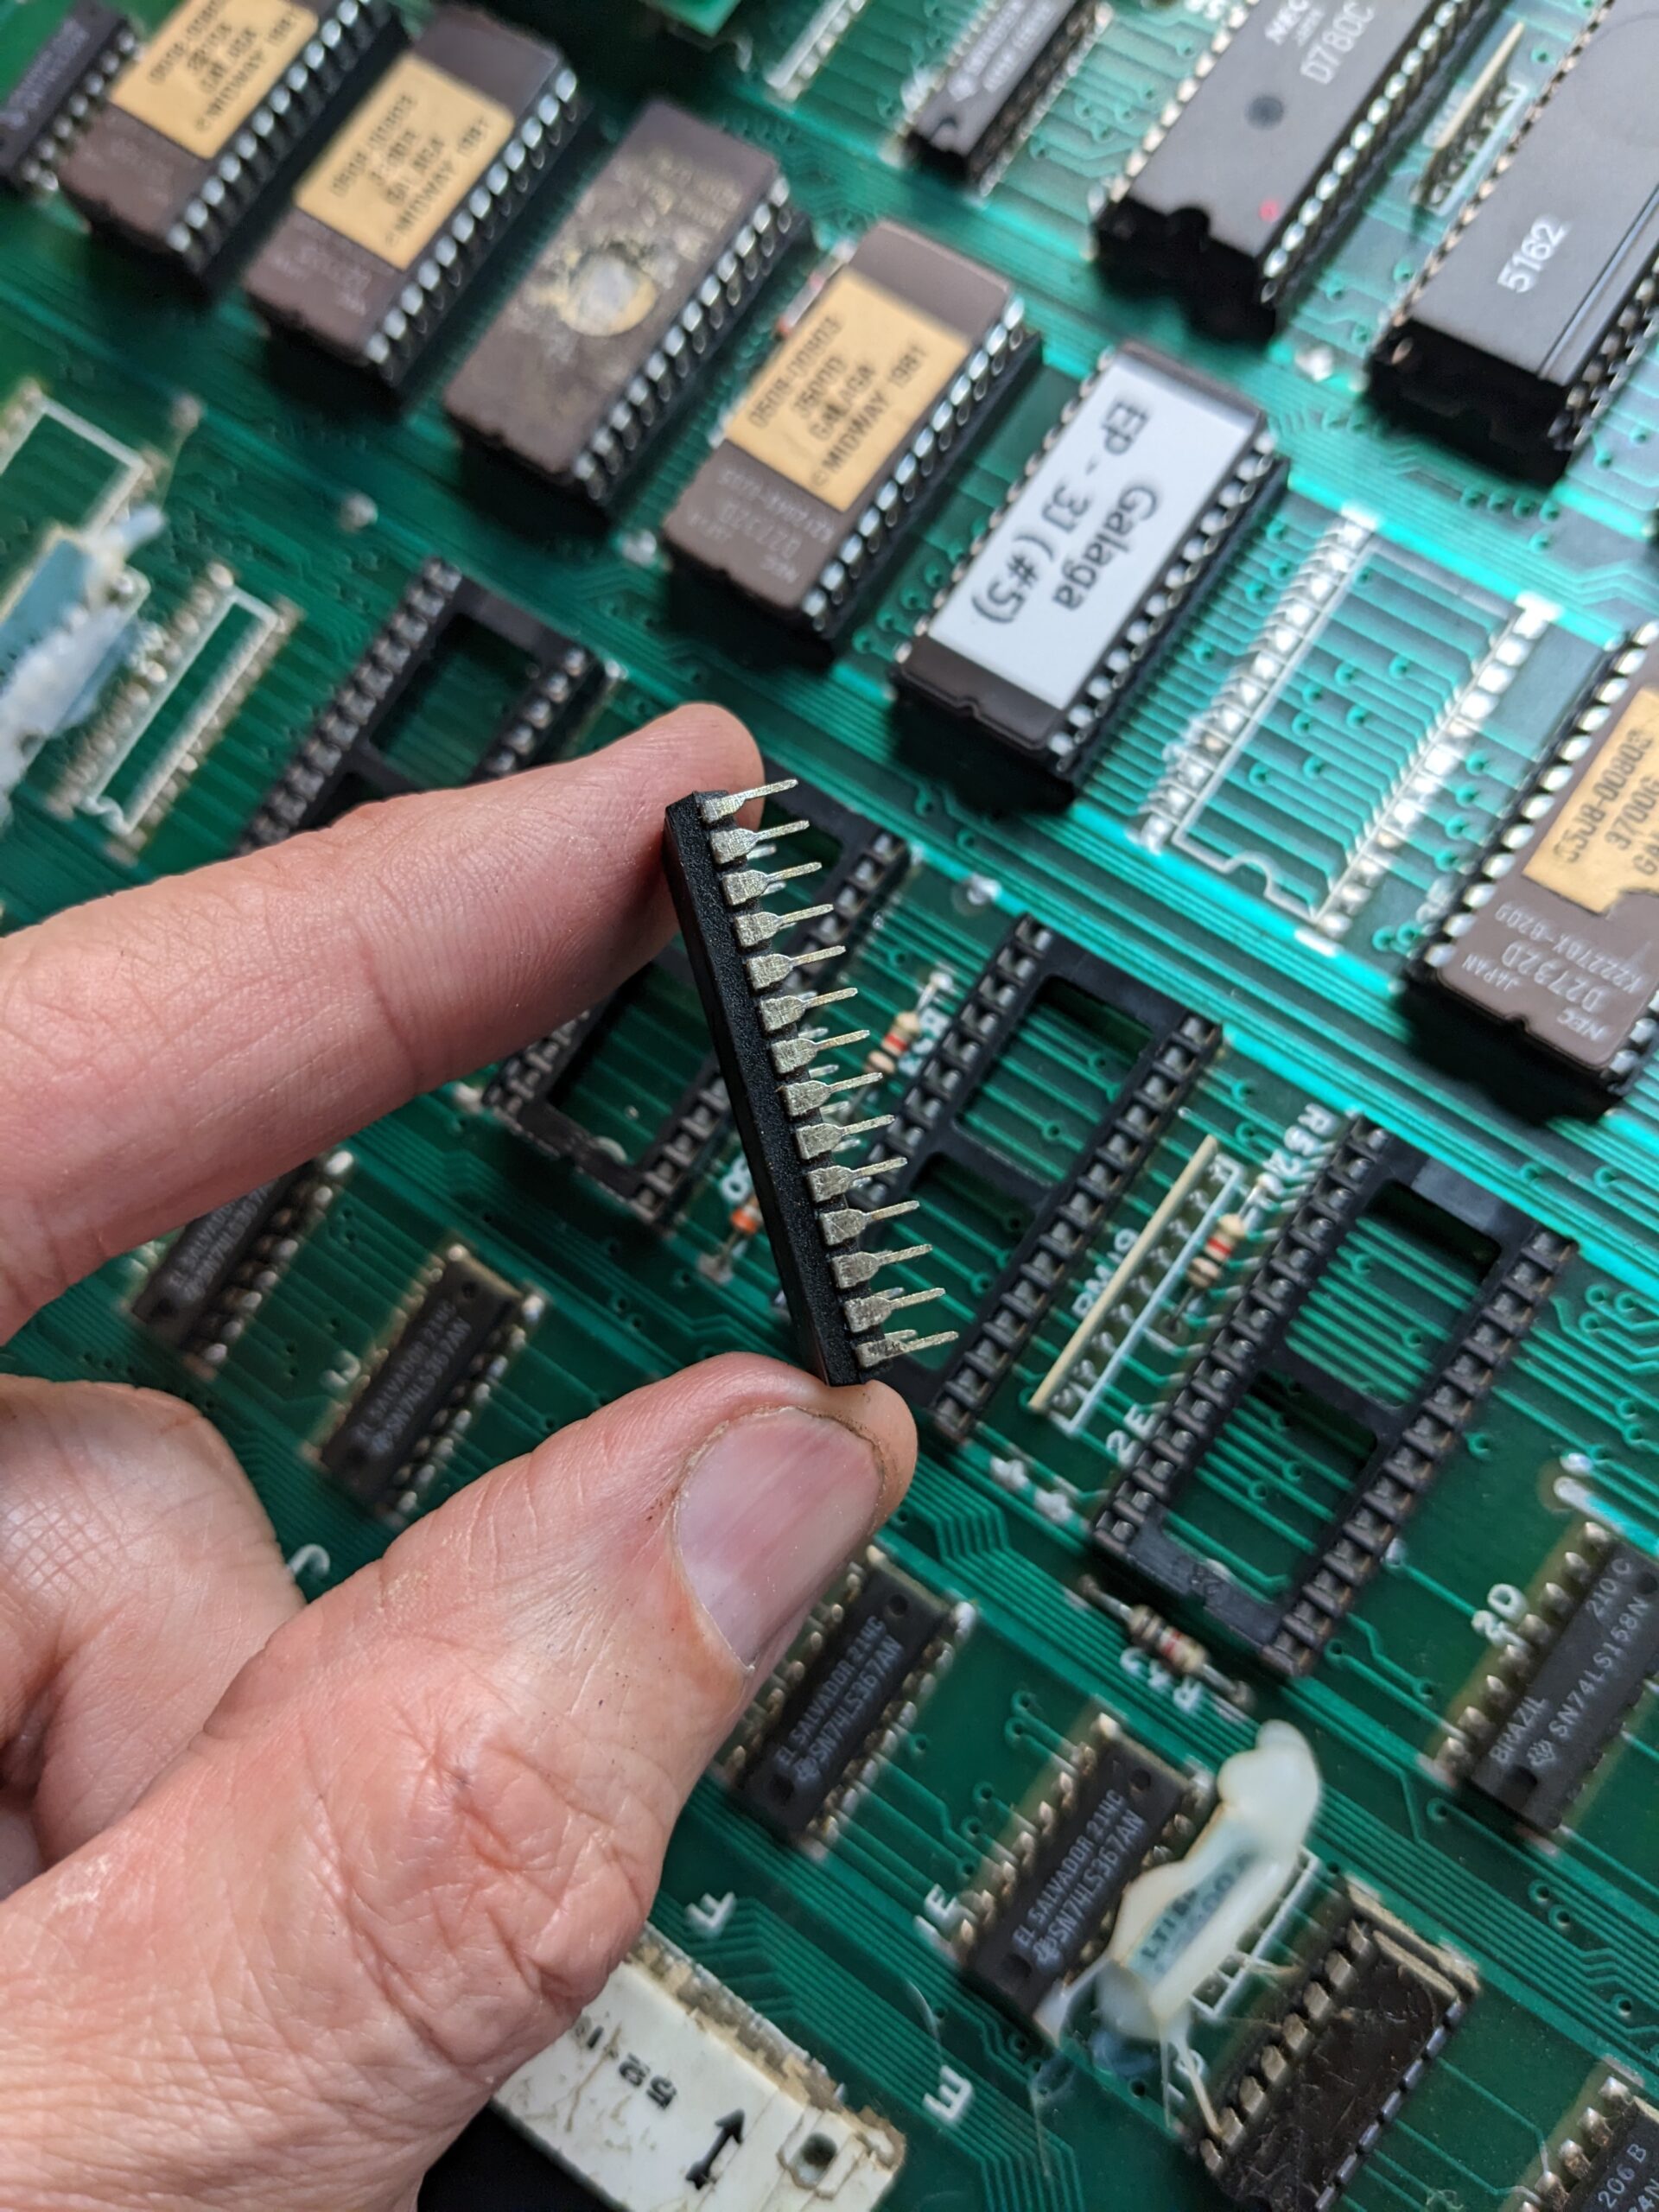
Attempting to carefully remove the chips from their sockets I’m caused the plastic socket body to stay with the chip and pull away from the contacts/wipers leaving them on the board. This happened with all four of them.
This was actually a blessing in disguise, because it made it easy to desolder the wipers and clean the holes from the top of the board.
Was then able to carefully remove the chips from the socket bodies, and carefully clean the pins using a Bright Boy.
These older boards have one little tricky thing with them – the spaces in between the pins on ICs does not have any solder mask, so if you have a trace running in between the pins, it is exposed. So if you are not careful soldering in the replacement sockets, and have too much solder pool up on the other side, you can easily cause a short.
Anyway after replacing the sockets, and reinserting the custom chips, the board worked fine, and successfully burned in for a few days on the test bench.